
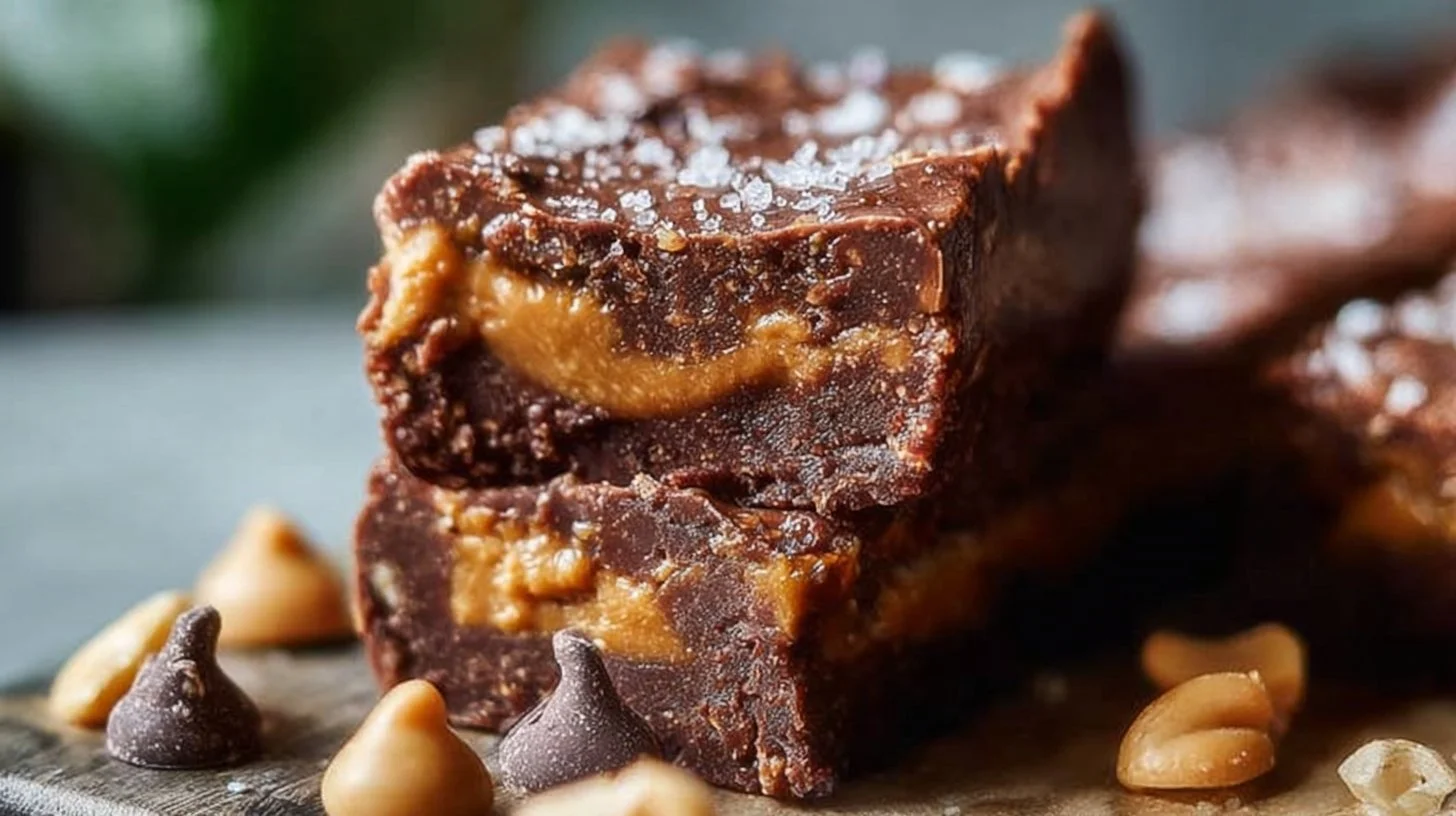
No-Bake Chocolate Peanut Butter Protein Bars: A Deliciously Nourishing Treat
If you’ve been seeking a quick, wholesome snack that doesn’t require turning on the oven, look no further than these No-Bake Chocolate Peanut Butter Protein Bars. In the fast-paced world we live in, having a nutritious snack at your fingertips is essential, and these bars are just the ticket!
Imagine the delightful taste of rich chocolate and creamy peanut butter combined into a chewy, satisfying bar packed with protein. Perfect for that mid-afternoon slump, as a pre/post-workout boost, or simply as a sweet treat to indulge in without guilt, these protein bars are bound to become a staple in your kitchen. Not only will you love the flavor, but you’ll also appreciate the simple preparation that requires no baking at all.
Let’s dive into the reasons why this recipe is a must-try and how you can enjoy these tasty bars in various ways!
Why You’ll Love This Recipe
- Simplicity: With just a few key ingredients, these bars are incredibly easy to make, even for novice bakers.
- Delicious Flavor: The combination of creamy peanut butter and rich cocoa gives these bars a satisfyingly indulgent taste.
- Healthy Snack Option: Packed with protein and whole grains, these bars are a fantastic choice for a nutritious, energy-boosting snack.
- Make-Ahead Convenience: Perfect for meal prep, these bars can be made in advance and stored in the fridge for whenever cravings strike.
- Kid-Friendly: Kids love the chocolate and peanut butter combo, making it an excellent option for school lunches or snacks.
- Customizable: With various mix-ins and substitutions, you can tailor these bars to suit your personal tastes!
What Makes This Recipe Special
These No-Bake Chocolate Peanut Butter Protein Bars are more than just a snack; they are a delightful blend of flavors and textures. The natural peanut butter adds creaminess and healthy fats, while the rolled oats provide a chewy base that is hearty and filling. The cocoa powder infuses each bite with deep chocolate flavor, making it hard to believe these bars are good for you.
Adding your choice of protein powder not only boosts the nutrition but also contributes to that satisfying texture. Should you choose to include chocolate chips, they add extra sweetness and a little indulgence, turning these bars into a decadent treat.
Whether you’re looking to refuel after a workout or satisfy a sweet tooth, this recipe has got you covered.
Ingredients
-
1 cup natural peanut butter
A great source of protein and healthy fats. -
1/2 cup honey or maple syrup
Sweetens the bars naturally, and provides sticky consistency. -
2 cups rolled oats
Adds fiber and substance, making the bars more filling. -
1/4 cup cocoa powder
For that rich chocolate flavor without added sugars. -
1 cup protein powder (chocolate or vanilla)
Boosts protein content and helps bind the mixture together. -
1/2 cup dark chocolate chips (optional)
For extra sweetness and a treat-like touch. -
1/4 teaspoon salt
Enhances flavor and balances the sweetness.
{image_template}
Ingredient Notes and Easy Substitutions
- Natural Peanut Butter: Opt for organic or natural varieties without added sugar or oils for the healthiest version. If you have nut allergies, sunflower seed butter is a great alternative!
- Sweeteners: Feel free to use agave syrup or even a sugar-free sweetener if you are looking to reduce sugar intake.
- Protein Powder: Choose a flavor that appeals to you; chocolate works beautifully, but vanilla is great if you prefer a lighter taste. Vegans can opt for plant-based protein options.
- Cocoa Powder: Unsweetened cocoa powder offers the best chocolate flavor without adding sugar.
- Add-ins: Consider adding shredded coconut, chopped nuts, or dried fruits for added texture and flavor.
Instructions
- In a large mixing bowl, combine the peanut butter and honey (or maple syrup) until smooth.
- Add in the rolled oats, cocoa powder, protein powder, and salt. Mix until well combined.
- If desired, fold in dark chocolate chips for an extra treat.
- Line a baking dish with parchment paper. Pour the mixture into the dish and press it down evenly. Use a spatula for a uniform layer.
- Refrigerate for at least 1 hour until firm.
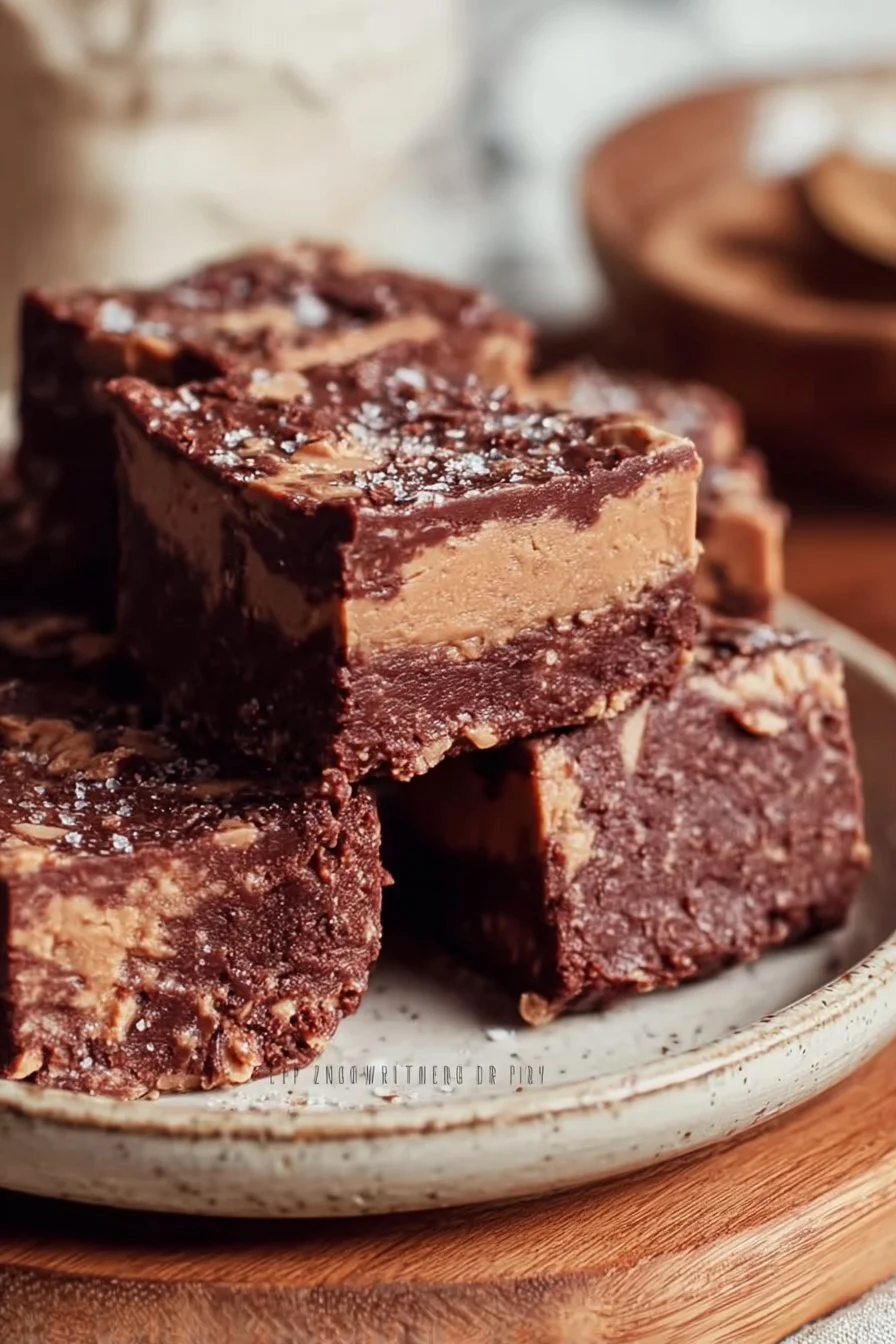
- Cut into bars and enjoy. Store leftovers in the fridge.
Expert Tips for the Best Results
- Consistency Check: If your mixture seems too dry, a little extra peanut butter or sweetener can help. If it’s too wet, add a touch more oats.
- Press Firmly: When shaping the mixture in your baking dish, be sure to press it down firmly for better sliceability and structure.
- Chill Well: Allowing the bars to chill completely is crucial for setting. They should be firm enough to hold their shape when you cut them.
- Presentation: For a professional touch, drizzle melted chocolate on top after the bars have set for an appealing finish.
Variations
- Crunchy Add-In Variation: Mix in 1/2 cup of chopped nuts (like almonds or walnuts) for added crunch.
- Fruit-Burst Variation: Add in 1/2 cup of dried cranberries or cherries for a fruity twist.
- Coconut Chocolate Variation: Stir in 1/2 cup of shredded coconut and use chocolate protein powder for a decadent coconut-chocolate combo.
- Nut-Free Version: Substitute the peanut butter with sunflower seed butter for a nut-free treat.
- Flavor Twist Variation: Try adding a teaspoon of vanilla extract or a pinch of cinnamon for an unexpected flavor dimension.
Serving Suggestions
These No-Bake Chocolate Peanut Butter Protein Bars are delicious on their own, but you can elevate your snacking game by serving them with a side of fresh fruit, like sliced bananas or strawberries. Pair them with a cup of coffee or a smoothie for a fulfilling breakfast option. For a fun twist, crumble the bars over yogurt or enjoy them with a scoop of ice cream for a delectable dessert.
Storage and Reheating
Store your No-Bake Chocolate Peanut Butter Protein Bars in an airtight container in the fridge for up to two weeks, making them ideal for meal prep. You can also freeze the bars for longer storage; simply wrap them individually in plastic wrap and place them in a freezer bag. When ready to enjoy, thaw them in the fridge or on the counter.
Common Mistakes to Avoid
- Not Chilling Long Enough: Be patient! Allow the bars to set properly to ensure they hold their shape.
- Skipping Parchment Paper: Lining your baking dish simplifies removing the bars and cleanup.
- Overmixing: Mix until just combined; overmixing can result in drier bars.
FAQ
Can I use a different sweetener?
Yes! Maple syrup, agave, or other liquid sweeteners can serve as great alternatives.
How do I make these bars vegan?
Simply use maple syrup as the sweetener and a plant-based protein powder.
What if my bars are too crumbly?
If your bars are too crumbly, try adding a touch more peanut butter or a sweetener to help bind the mixture.
Can I freeze these protein bars?
Absolutely! They freeze well for up to three months. Just ensure they are wrapped properly to avoid freezer burn.
What is the best way to cut the bars?
Using a sharp knife or a bench scraper works best for cutting through these protein bars.
How long do they keep?
Stored properly in the fridge, they’ll last for about two weeks. They can be frozen for longer storage.
Conclusion
These No-Bake Chocolate Peanut Butter Protein Bars are an absolute delight—easy to make, flavor-packed, and nutritious! Perfect for busy days, they provide an energizing lift whenever you need it. So why wait? Whip up a batch today, and you’ll have a tasty and wholesome snack ready to go. Don’t forget to share this delightful recipe with your friends, or save it for later! Happy snacking!
No-Bake Chocolate Peanut Butter Protein Bars
Ingredients
Method
- In a large mixing bowl, combine the peanut butter and honey (or maple syrup) until smooth.
- Add in the rolled oats, cocoa powder, protein powder, and salt. Mix until well combined.
- If desired, fold in dark chocolate chips for an extra treat.
- Line a baking dish with parchment paper. Pour the mixture into the dish and press it down evenly.
- Refrigerate for at least 1 hour until firm.
- Cut into bars and enjoy. Store leftovers in the fridge.
Notes

Leave a Comment