

No-Bake Chocolate Coconut Oat Bars are a delightful treat that combines rich chocolate flavor with the natural sweetness of coconut and oats, creating a chewy and satisfying snack perfect for any time of day. They’re not only quick to make but also a healthier alternative to store-bought bars, packed with wholesome ingredients to keep you energized. Ideal for family gatherings, lunchboxes, or a cozy night in, these bars are sure to become a beloved go-to recipe.
What Makes These No-Bake Chocolate Coconut Oat Bars Irresistible
These No-Bake Chocolate Coconut Oat Bars are a lovely combination of textures and flavors. The hearty rolled oats provide a satisfying chew, while the shredded coconut adds a tropical flair and delightful crunch. The cocoa powder gives them a rich chocolatey taste that will satisfy your sweet tooth without being overly indulgent. Plus, the honey or maple syrup brings a touch of natural sweetness, making them a perfect homemade treat. They are genuinely comforting and feel like a warm hug in every bite!
Ingredients Required for No-Bake Chocolate Coconut Oat Bars
- 1 cup rolled oats
- 1 cup shredded coconut
- 1/2 cup honey or maple syrup
- 1/2 cup nut butter (e.g., almond, peanut)
- 1/2 cup cocoa powder
- 1 teaspoon vanilla extract
- Pinch of salt
Steps to Create No-Bake Chocolate Coconut Oat Bars
- In a large mixing bowl, combine the rolled oats, shredded coconut, cocoa powder, and a pinch of salt.
- In a separate bowl, blend the honey (or maple syrup) with the nut butter until smooth.
- Stir in the vanilla extract into the nut butter mixture.
- Pour the liquid mixture into the dry ingredients and mix until well combined.
- Transfer the mixture into a lined baking dish and press down firmly to create an even layer.
- Refrigerate the dish for at least 1-2 hours or until the mixture is set.
- Once firm, cut the bars into your desired size and enjoy your homemade treat!
Serving Suggestions for No-Bake Chocolate Coconut Oat Bars
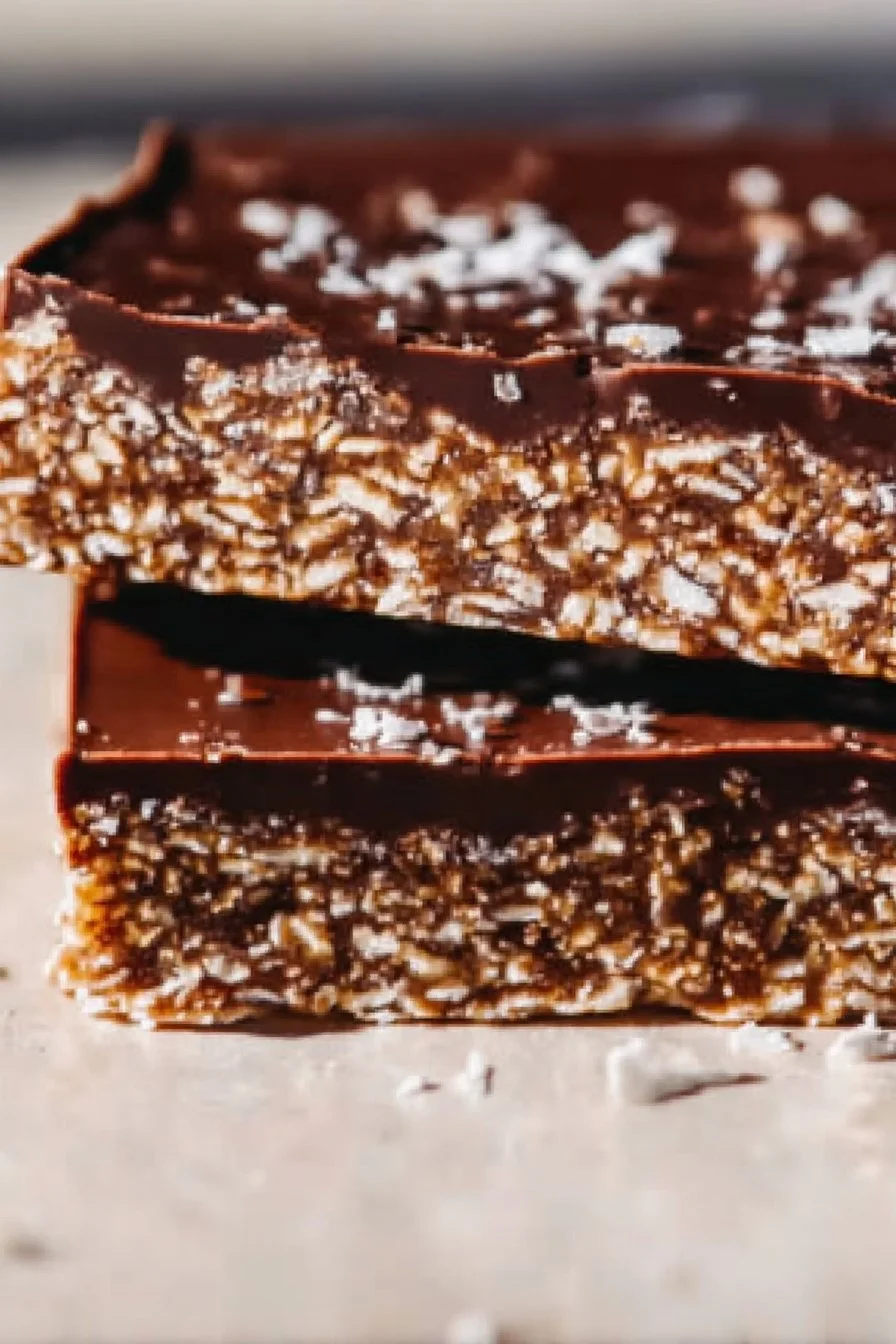
These bars make for an excellent snack on their own, but you can enhance the experience by pairing them with a glass of almond milk, coconut milk, or your favorite dairy-free beverage. They’re also fantastic alongside a bowl of fresh berries for a hearty breakfast or afternoon treat. Try adding a sprinkle of sea salt or some chopped nuts on top for an extra layer of texture and flavor.
How to Store No-Bake Chocolate Coconut Oat Bars
To keep your No-Bake Chocolate Coconut Oat Bars fresh, store them in an airtight container in the refrigerator. They will last for up to a week, making them perfect for meal prep or quick snacks. You can also wrap each bar individually in parchment paper for grab-and-go convenience. For longer storage, consider freezing the bars in an airtight container, layered with parchment paper, for up to three months.
Tips for Making No-Bake Chocolate Coconut Oat Bars Perfectly Every Time
Ensure all ingredients are fresh for the best flavor and texture. If you find the bars too crumbly, try adding a bit more nut butter or sweetener to help bind them together. Pressing the mixture firmly into the baking dish is vital for achieving the right texture; this helps the bars hold together once chilled. Experiment with different nut butters for unique flavor variations—each will give your bars a distinct twist!
Ideas for Variations and Add-Ins
There are countless ways to customize your No-Bake Chocolate Coconut Oat Bars! Consider adding chocolate chips for extra sweetness or a handful of chopped nuts for added crunch. Dried fruits like cranberries or cherries can also enhance the flavors. For a protein boost, stir in some protein powder or seeds like chia or flaxseed. Feel free to explore and create your perfect combination!
Frequently Asked Questions About No-Bake Chocolate Coconut Oat Bars
Can I prepare these bars in advance?
Absolutely! No-Bake Chocolate Coconut Oat Bars are perfect for making ahead of time. You can whip up a batch and store them in the refrigerator for several days, making them ideal for busy weekdays or last-minute snacks.
Can I freeze these bars for later use?
Yes, you can freeze No-Bake Chocolate Coconut Oat Bars! Wrap them individually in plastic wrap or store them in an airtight container. They’ll keep well for up to three months—just thaw them in the fridge before enjoying.
Are these bars suitable for kids?
Indeed, these bars are a fantastic option for kids! They’re not only delicious but also packed with wholesome ingredients that provide energy, making them an excellent snack for school lunchboxes or after-school treats.
Can I make these bars gluten-free or dairy-free?
Yes! To make No-Bake Chocolate Coconut Oat Bars gluten-free, just ensure you use certified gluten-free oats. For a dairy-free version, choose nut butter that doesn’t contain dairy and opt for maple syrup instead of honey if needed.
Can I add protein powder for a health boost?
Certainly! You can incorporate your favorite protein powder into the mixture to boost the nutritional content of No-Bake Chocolate Coconut Oat Bars. Start with a small amount, and adjust to your taste as you blend it in.
Your Sweet Adventure Awaits!
Now that you’ve got the recipe, it’s time to whip up a batch of these delicious No-Bake Chocolate Coconut Oat Bars! They’re not only a hit with the whole family but also serve as a nutritious snack or dessert. Don’t hesitate to share the love by passing this recipe along, and if you try it out, let us know how it turned out. Happy baking! For more delightful recipe ideas, check out our collection of easy side dishes and comforting soups!
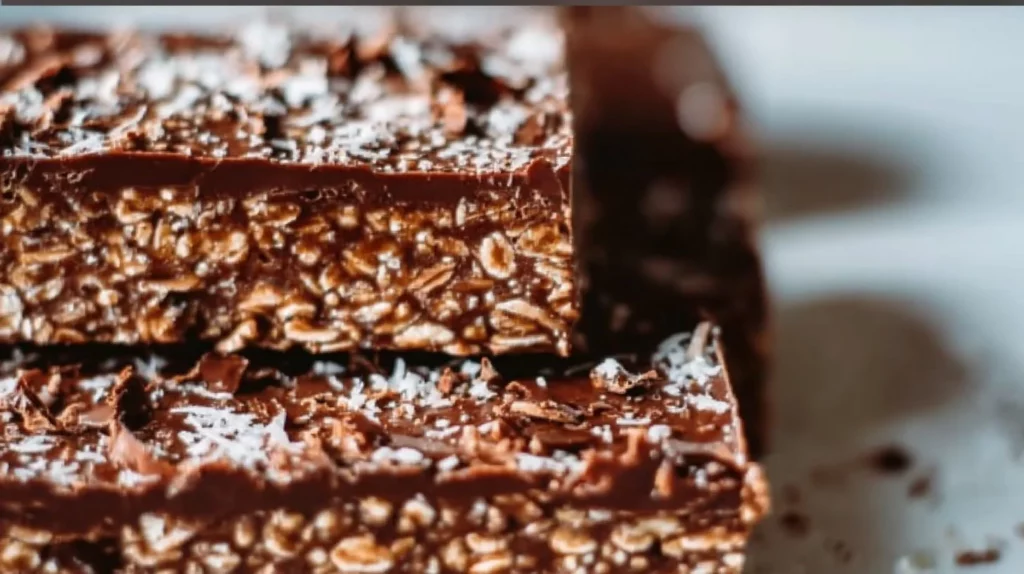
No-Bake Chocolate Coconut Oat Bars
Ingredients
Method
- In a large mixing bowl, combine the rolled oats, shredded coconut, cocoa powder, and a pinch of salt.
- In a separate bowl, blend the honey (or maple syrup) with the nut butter until smooth.
- Stir in the vanilla extract into the nut butter mixture.
- Pour the liquid mixture into the dry ingredients and mix until well combined.
- Transfer the mixture into a lined baking dish and press down firmly to create an even layer.
- Refrigerate the dish for at least 1-2 hours or until the mixture is set.
- Once firm, cut the bars into your desired size and enjoy your homemade treat!
Notes

Leave a Comment