
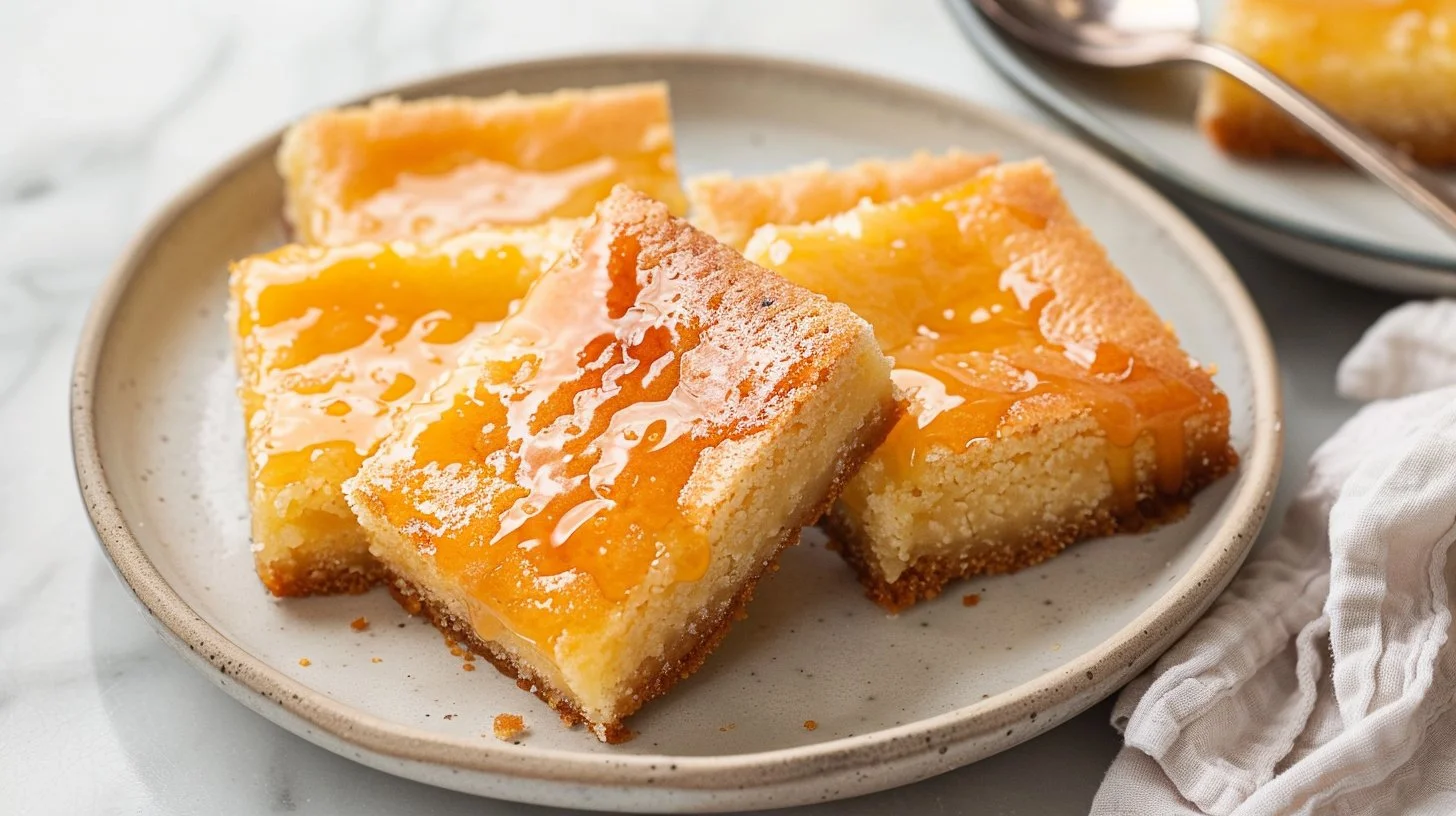
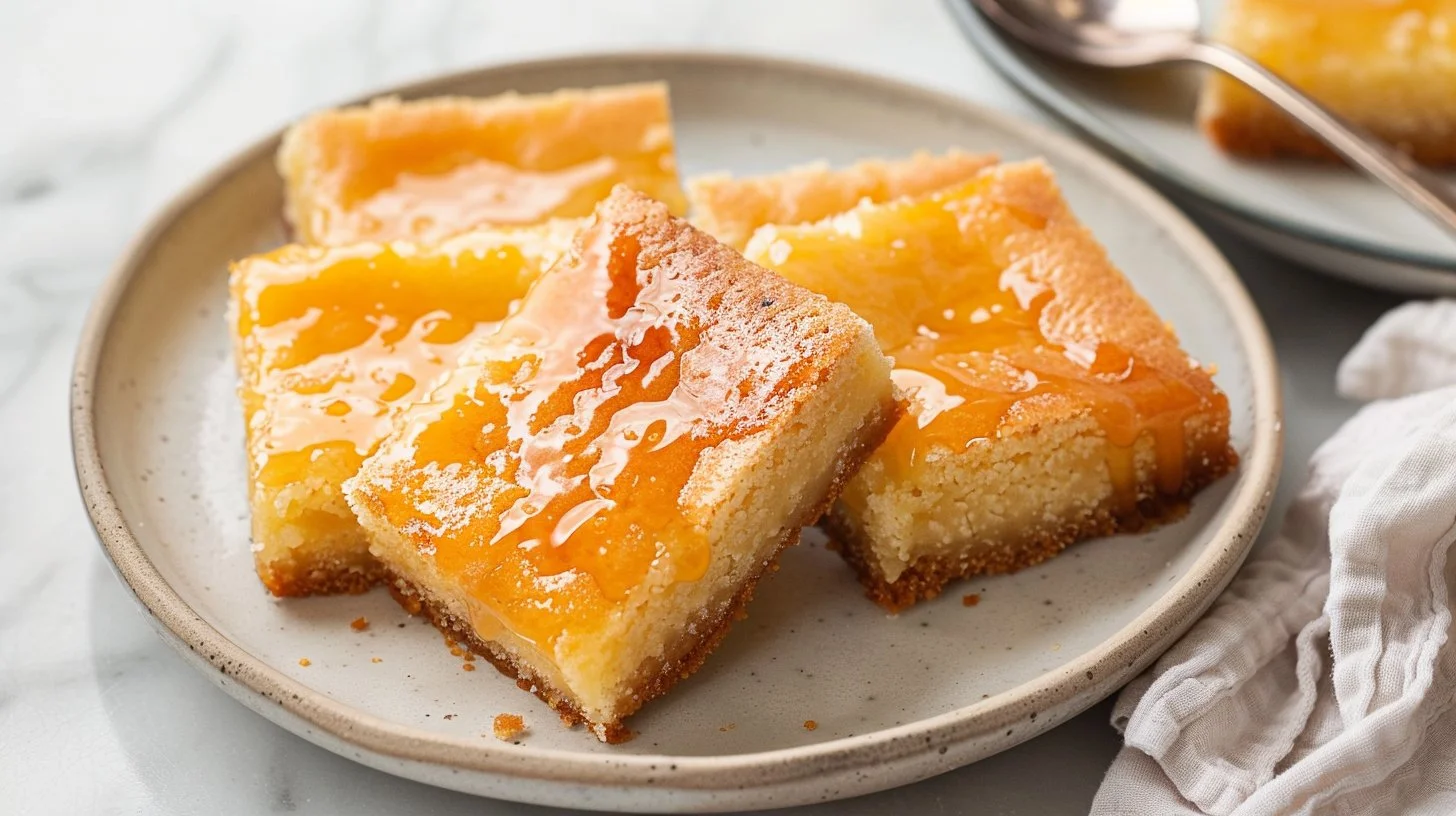
Indulge in a delightful treat that balances sweetness with a buttery richness, making it a perfect addition to any dessert table. These bars are a heartwarming combination of tender cake-like texture, topped with a luscious glaze that screams pure maple goodness. They’re not just delicious; they offer an experience, pulling you into a world where simple ingredients transform into an extraordinary sweet moment. Whether enjoyed with a cup of coffee during a quiet afternoon or served at a festive gathering, this dessert captures the essence of comfort in every bite.
Quick Snapshot: What You’re Getting (In Plain English)
- Time: About 40 minutes total, including prep and baking.
- Difficulty: Easy, perfect for bakers of any level.
- Servings: 16 generous squares.
- Best Occasion: Perfect for brunches, potlucks, or cozy evenings in.
The “Why It Works” That Actually Helps You Cook
The keys to achieving the ideal texture involve a clever interplay between creaming the butter and sugar until fluffy, which incorporates air for a lightness, and the careful addition of buttermilk, lending moisture and a subtle tang. Following a well-timed mixing process keeps the batter tender and prevents overmixing, which can lead to denser bars. Establishing that perfect golden brown color on the glaze isn’t just for aesthetics—it’s about enhancing the rich, nutty flavor. Keep an eye on it, and you’ll unlock an irresistible finish.
{image_template}
The Ingredient Lineup (Plus Smart Swaps That Won’t Ruin It)
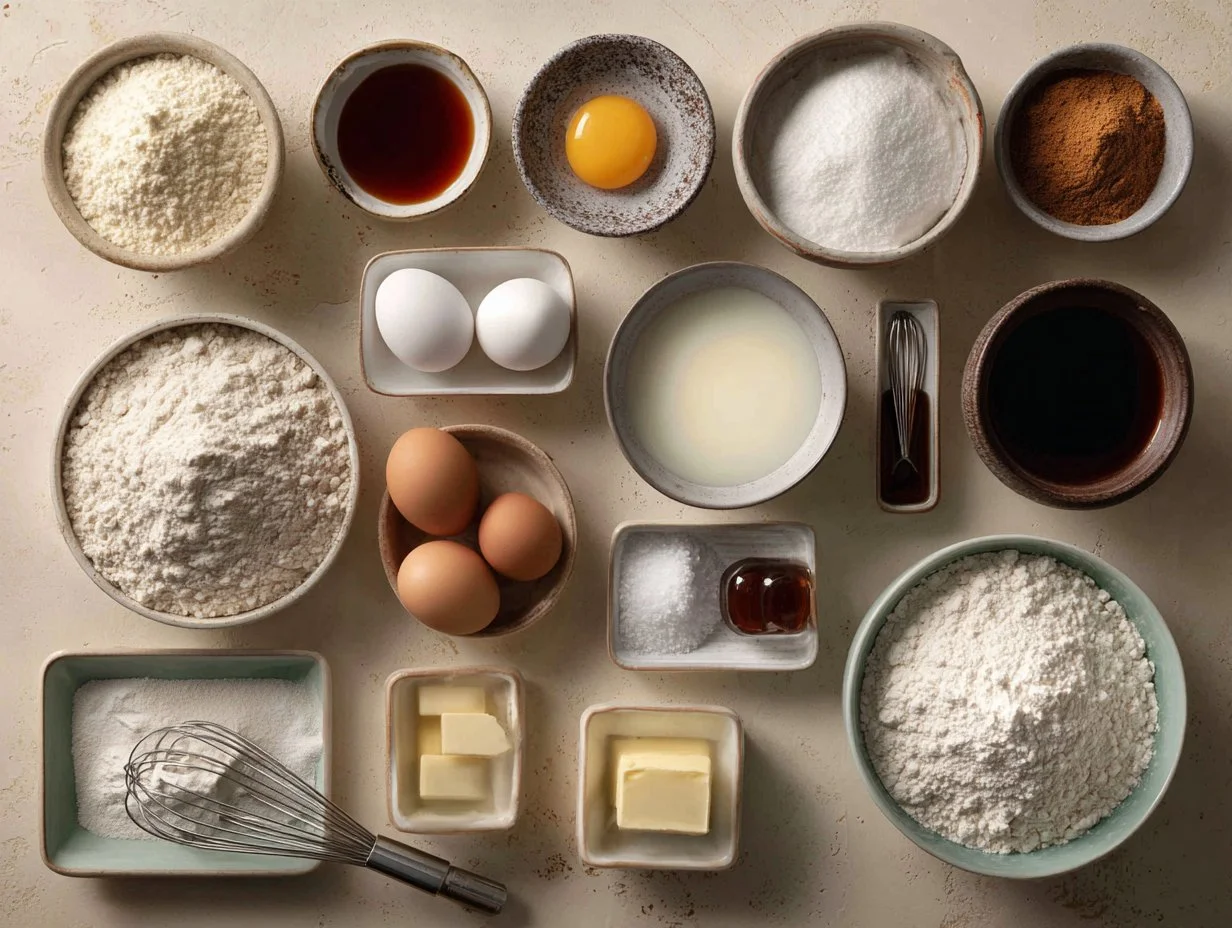
- 2½ cups all-purpose flour (can substitute with a gluten-free blend for gluten-free bars)
- 2 tsp baking powder
- 1 tsp baking soda
- ½ tsp ground nutmeg
- ½ tsp salt
- ½ cup unsalted butter, softened (coconut oil can work for a dairy-free option)
- ¾ cup granulated sugar (consider using brown sugar for a deeper flavor)
- 2 large eggs
- 1 tsp vanilla extract
- ¾ cup buttermilk (substitute with equal parts yogurt or non-dairy milk with vinegar)
- ½ cup unsalted butter (for glaze, or use dairy-free butter)
- 1½ cups powdered sugar
- 2 tbsp pure maple syrup (the real deal makes all the difference!)
- 1 tsp vanilla bean paste (or extract for a simpler option)
- 1–2 tbsp milk (for thinning the glaze, plant-based milk works too)
Do This, Then This: The Foolproof Step-by-Step
- Preheat your oven to 350°F (175°C) and lightly grease a 9×13-inch baking pan to ensure easy removal.
- In a medium bowl, combine the flour, baking powder, baking soda, nutmeg, and salt. Whisk until blended.
- In a large mixing bowl, cream the softened butter and granulated sugar together for about 3 to 5 minutes until light and fluffy.
- Add the eggs to the butter mixture one at a time, mixing well after each addition. Stir in the vanilla extract.
- Gradually incorporate the dry mixture and buttermilk into the creamed mixture, starting and ending with the dry ingredients—mix until just combined to keep your bars tender.
- Spread the batter evenly into the prepared pan, leveling the surface, and bake for 22 to 25 minutes. Perform a toothpick test; it should come out clean when done.
- Allow the bars to cool completely in the pan on a wire rack to prevent moisture from making them soggy.
- For the glaze, melt the remaining unsalted butter in a saucepan over medium heat until it turns a beautiful golden color. Mixing in powdered sugar, maple syrup, and vanilla, stir until smooth and glossy.
- Pour the glaze evenly over the cooled bars, letting it set before slicing into squares.
Flavor + Texture: What You Should Notice in Every Bite
The first bite presents a burst of warm, buttery goodness, laced with a hint of nutmeg that takes it to a cozy level of comfort. Each square delivers a tender crumb that melts in your mouth, striking the perfect balance between soft and satisfying. The glaze adds a luxurious, sweet contrast with its silky texture, enhanced by the maple syrup’s rich essence. To adjust the flavors, consider toasting nuts or adding citrus zest for a bright, contrasting note. Keeping it balanced ensures you savor every scrumptious morsel without overwhelming your palate.
Effortless Make-Ahead Tips for Busy Schedules
Preparing these delicious squares ahead of time can save both effort and time during busier days. The batter can be made in advance, stored in the refrigerator for up to 24 hours before baking—just let it warm slightly before spreading it into the pan. The baked bars also hold up beautifully when stored properly; they can be made up to three days ahead. To keep them fresh, wrap individually in plastic wrap, or place in an airtight container, ensuring they maintain their delightful moisture and texture.
One-Pan Cleanup: Bake Without the Drama
Crafting these treats in one pan means simplified cleanup, allowing you to focus on enjoying your creation rather than dreading the aftermath. With just a bowl for mixing and your baking dish, there’s less hassle. To make even easier: line the baking pan with parchment paper, leaving a bit of an overhang. This will help lift out the finished bars effortlessly, reducing any need for scrubbing. Embrace the one-pan method and savor the delicious outcomes with minimal mess!
Thick, Creamy Glaze Without the Fuss
Achieve that luxurious glaze every time by monitoring both the butter melting process and how you combine the powdered sugar. Browning the butter not only brings depth to the flavor but helps create a texture that adheres beautifully to the bars. If your glaze seems too thick, adding a tablespoon of milk gradually for thinning can give you the desired viscosity, allowing for a perfect pour over your cooled squares without running off entirely.
Surprising Flavor Twists with Simple Add-Ins
Transform the flavor profile or add texture with creative mix-ins without sacrificing the integrity of the recipe. Incorporate chopped pecans or walnuts for that lovely crunch, or fold in chocolate chips for a luxurious twist. For a pop of freshness, consider adding orange zest to the batter—this citrusy note can brighten the overall flavor, making it feel elevated. Experimenting with variations like these not only keeps the recipe exciting but tailors it to your favorites!
How to Serve It (So It Feels Like a Full Win)
– Serve warm alongside a scoop of vanilla ice cream for a delightful dessert twist. – Pair with a cup of freshly brewed coffee or tea for a cozy afternoon treat. – Top with fresh berries for a refreshing contrast to the sweet bars. – Drizzle with additional maple syrup for an extra indulgent experience. – Sprinkle with flaky sea salt to enhance the sweetness and add a gourmet touch. – Use as a base for a s’mores-inspired dessert, adding chocolate and toasted marshmallows.
Storage, Leftovers, and Make-Ahead (Without Losing Texture)
For optimal freshness, store the bars in an airtight container at room temperature for up to three days. If you wish to keep them longer, these bars also freeze well. Wrap them in plastic wrap, then place in a freezer-safe zip-top bag, ensuring that all excess air is removed to prevent freezer burn. When you’re ready to enjoy, simply thaw at room temperature for a few hours, and they will retain their delightful texture and flavor—perfect for unexpected guests!
Common Mistakes (And the Fast Fix for Each One)
– **Overmixing the batter:** Leads to denser bars; mix until just combined. – **Undercooking:** Check for doneness by inserting a toothpick—it should come out clean. – **Not cooling before glazing:** Will make the glaze runny; cool completely first. – **Skipping parchment paper:** Will make it hard to remove the bars; use parchment! – **Using cold ingredients:** For best results, have butter and eggs at room temperature.
Make It Yours: 6 Variations That Still Keep the Recipe Solid
– Add chopped chocolate for a decadent touch—escape into chocolate heaven. – Incorporate toasted coconut for a tropical flair that brightens each bite. – Swirl in peanut butter for that nutty richness, creating a unique flavor profile. – Experiment with spices like cinnamon or cardamom for a spiced twist. – Use almond extract instead of vanilla for a nutty aroma in every bite. – Play with different glazes: try an orange glaze for an unexpected burst of citrus.
Quick Answers Before You Start
Can I make these bars ahead of time?
Absolutely! You can prepare the batter and store it in the fridge for up to 24 hours prior to baking. The baked bars can also be made 2–3 days in advance.
How do I store leftovers?
Store in an airtight container at room temperature for up to three days, or freeze for longer storage.
Can I make a gluten-free version?
Yes, a gluten-free flour blend can be used as a substitute for all-purpose flour without compromising the flavor or texture significantly.
What’s the best way to reheat them if frozen?
To enjoy, thaw at room temperature for several hours. Avoid reheating in the microwave as it may affect their texture.
How do I achieve a thicker glaze?
If the glaze is too runny, gradually add powdered sugar until reaching your desired thickness, adjusting to suit your preference.
What if my bars are too dry?
Ensure accurate measuring of flour and buttermilk. If they’ve become dry, serve with a scoop of ice cream to balance it out.
Final Notes (So You Nail It the First Time)
Baking is an art, but it can also be simple and rewarding! With the right balance of preparation and attention to detail, you’ll create sweet memories with each bite. Grab your ingredients and don’t just think about it—save this recipe and make it tonight!
Maple Glazed Butter Bars
Ingredients
Method
- Preheat your oven to 350°F (175°C) and lightly grease a 9x13-inch baking pan.
- In a medium bowl, combine the flour, baking powder, baking soda, nutmeg, and salt. Whisk until blended.
- In a large mixing bowl, cream the softened butter and granulated sugar together for about 3 to 5 minutes until light and fluffy.
- Add the eggs to the butter mixture one at a time, mixing well after each addition. Stir in the vanilla extract.
- Gradually incorporate the dry mixture and buttermilk into the creamed mixture, starting and ending with the dry ingredients—mix until just combined.
- Spread the batter evenly into the prepared pan and bake for 22 to 25 minutes. Perform a toothpick test; it should come out clean when done.
- Allow the bars to cool completely in the pan on a wire rack.
- For the glaze, melt the remaining unsalted butter in a saucepan over medium heat until it turns golden.
- Mix in powdered sugar, maple syrup, and vanilla, stirring until smooth and glossy.
- Pour the glaze evenly over the cooled bars and let it set before slicing into squares.
Notes

Leave a Comment