
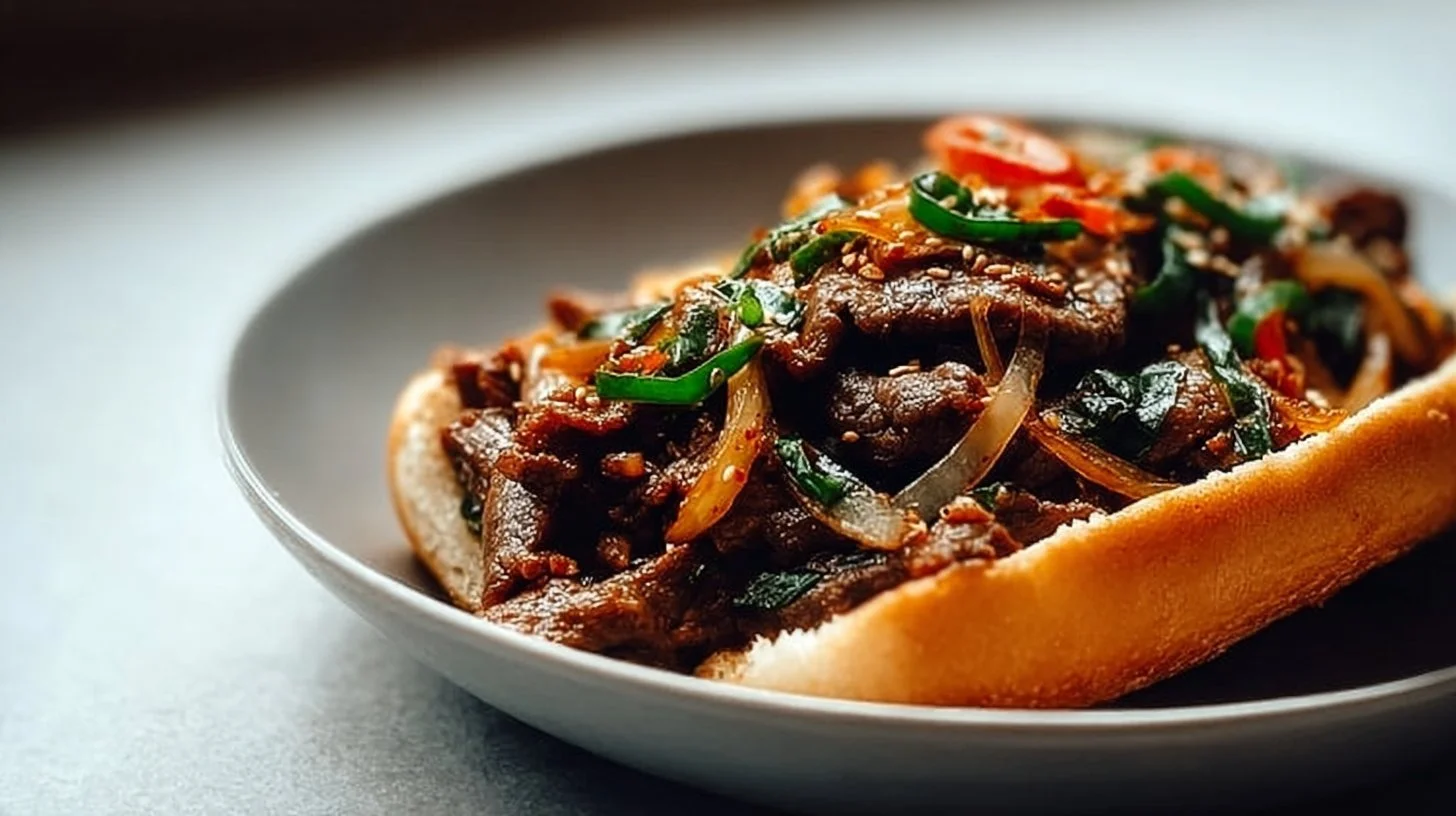
Start with a delightful taste of Korea merged with a classic American favorite! This Korean Kimchi Bulgogi Cheesesteak brings together the savory flavor of marinated beef, the tanginess of kimchi, and the creaminess of melted provolone cheese. Each bite offers a burst of flavors and textures, encouraging cozy family meals or gatherings with friends. Perfectly satisfying, this recipe is sure to become a comforting addition to your meal rotation.
Why this Korean Kimchi Bulgogi Cheesesteak is a family favorite
One of the best things about this Korean Kimchi Bulgogi Cheesesteak is its unique combination of flavors that appeals to everyone. The star ingredient, bulgogi, features tender beef marinated in a savory mixture that captivates the palate. With the addition of spicy and tangy kimchi, each bite is an explosion of taste. The melted provolone cheese gives the dish a creamy texture that contrasts beautifully with the crunchy vegetables, creating a delightful balance. It’s comfort food that’s easy to make yet impressive enough for any occasion.
Ingredients needed for Korean Kimchi Bulgogi Cheesesteak
- 1 pound ribeye or sirloin beef, thinly sliced
- 1 cup kimchi, chopped
- 1 onion, sliced
- 1 bell pepper, sliced
- 2 tablespoons soy sauce
- 1 tablespoon sesame oil
- 1 teaspoon minced garlic
- 1 teaspoon minced ginger
- 4 slices of provolone cheese
- 4 hoagie rolls
- Salt and pepper to taste
- Green onions, for garnish
How to prepare Korean Kimchi Bulgogi Cheesesteak
- In a mixing bowl, combine the soy sauce, sesame oil, minced garlic, minced ginger, sliced beef, and chopped kimchi. Allow the mixture to marinate for at least 30 minutes to enhance the flavors.
- Heat a skillet over medium-high heat, then add the marinated beef mixture. Cook for approximately 5 minutes, stirring until the beef is nicely browned.
- Add in the sliced onion and bell pepper, sautéing until they become tender.
- Season the mix with salt and pepper according to your taste preferences.
- Place slices of provolone cheese on top of the beef mixture, covering it briefly to allow the cheese to melt.
- Toast the hoagie rolls until they’re warm with a slight crispiness.
- Fill each toasted hoagie roll generously with the flavorful beef mixture and garnish with chopped green onions. Serve hot for the best experience!

How to serve Korean Kimchi Bulgogi Cheesesteak
There are numerous ways to serve this delicious dish. You can enjoy it as a main course alongside simple side dishes such as fries, coleslaw, or a fresh salad for a well-rounded meal. For a fun twist, consider setting up a toppings bar with extra kimchi, pickled vegetables, or sauces for guests to personalize their sandwiches. This interactive approach makes mealtime more exciting and memorable!
How to store Korean Kimchi Bulgogi Cheesesteak
If you find yourself with leftovers, you can store them in an airtight container in the refrigerator for up to three days. When you’re ready to enjoy them again, simply reheat in a skillet over medium heat until warmed through. Avoid the microwave if possible, as it can make the bread soggy. For the best results, try to consume leftovers within a couple of days for optimal freshness.
Tips to make Korean Kimchi Bulgogi Cheesesteak perfectly every time
To ensure your Korean Kimchi Bulgogi Cheesesteak turns out scrumptious every time, start with high-quality beef for maximum tenderness. Allowing the beef to marinate longer than 30 minutes can intensify the flavors even further. Don’t skip toasting the hoagie rolls; the crispy exterior will add a delightful crunch that elevates the dish. Finally, feel free to adjust the amount of kimchi based on your spice preference. More kimchi will provide a zesty kick, while a little less will keep it more subtle and family-friendly.
Variations and add-in ideas
There are plenty of ways to customize your Korean Kimchi Bulgogi Cheesesteak! Consider adding mushrooms for extra earthy flavor or spicy jalapeños for a kick. You can swap provolone cheese for other varieties like mozzarella or cheddar if you prefer. For a vegetarian version, substitute the beef with tofu or tempeh, and use a vegan cheese alternative. The possibilities are endless, making this dish a versatile favorite in any kitchen.
FAQ about Korean Kimchi Bulgogi Cheesesteak
Can I make this dish ahead of time?
Absolutely! You can marinate the beef and chop the vegetables a day in advance. Just store everything separately in the refrigerator until you’re ready to cook. This will save you time during meal preparation and allow the flavors to meld beautifully.
Can I freeze the leftovers?
Yes, leftovers can be frozen for future enjoyment. Just place the beef mixture in an airtight freezer bag or container. When ready to eat, thaw in the refrigerator overnight and reheat on the stovetop until warmed through.
Is there a kid-friendly version?
Of course! To appeal to younger palates, you can reduce the amount of kimchi or opt for a milder version. You could also serve the beef mixture on its own without the roll for a simpler meal that kids will love.
How can I make it gluten-free or dairy-free?
To make this recipe gluten-free, use tamari instead of soy sauce and ensure your hoagie rolls are made from gluten-free ingredients. For a dairy-free option, simply skip the cheese or use a dairy-free alternative.
What can I serve with Korean Kimchi Bulgogi Cheesesteak?
For a complete meal, consider serving your cheesesteak with a fresh salad, baked sweet potato fries, or even a side of creamy coleslaw. These sides complement the robust flavors of the sandwich and make for a delightful dining experience.
Conclusion
This Korean Kimchi Bulgogi Cheesesteak is a fusion masterpiece that blends flavors from two beloved cuisines, promising a satisfying dining experience you’ll want to repeat. We encourage you to try making this recipe at home, share it with family and friends, and leave your feedback! For more delicious ideas, don’t forget to check out our pasta recipes, simple side dish ideas, or hearty soups and slow-cooked meals to complete your culinary adventures. Enjoy every creamy, flavorful bite!

Leave a Comment