
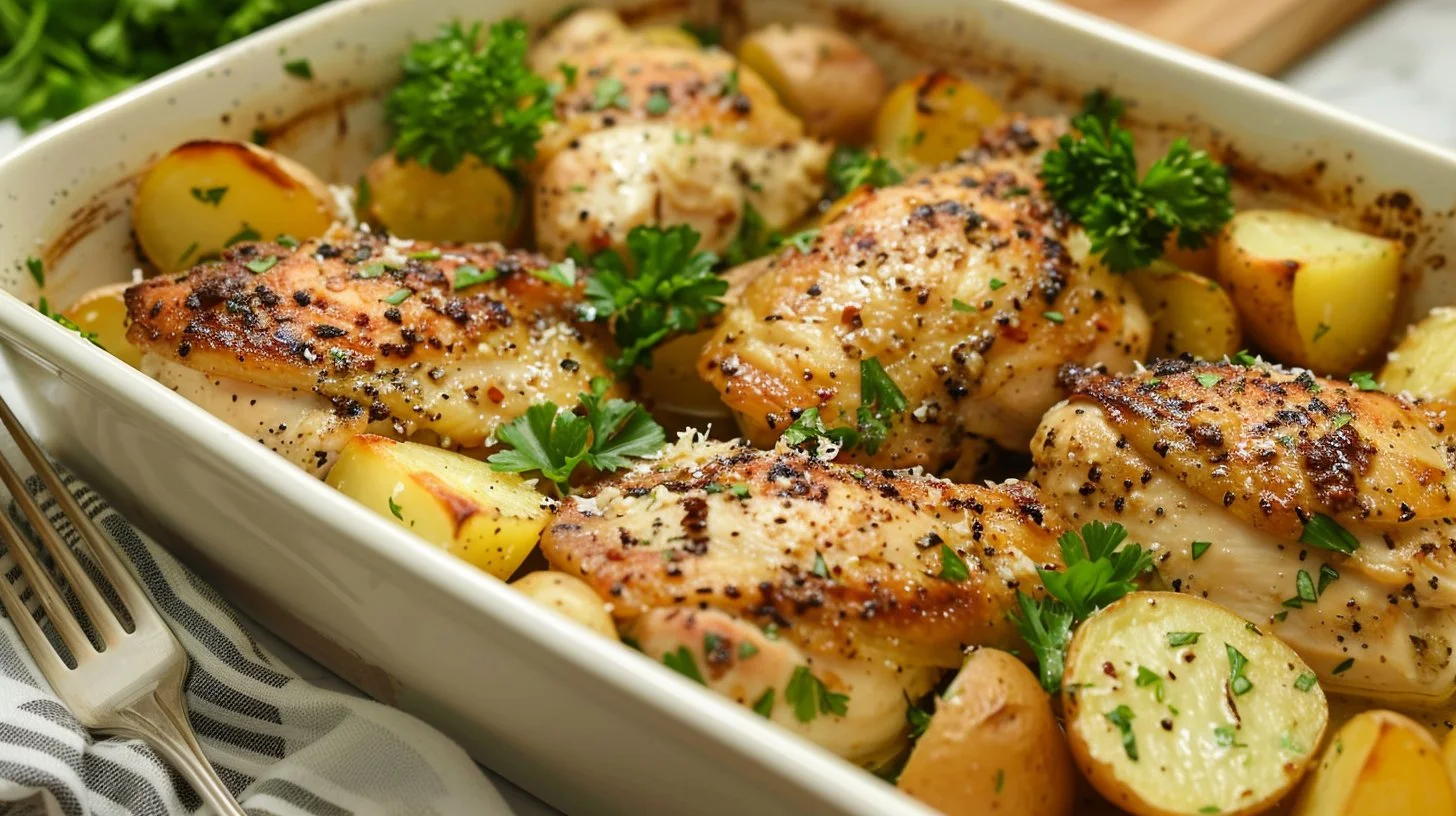
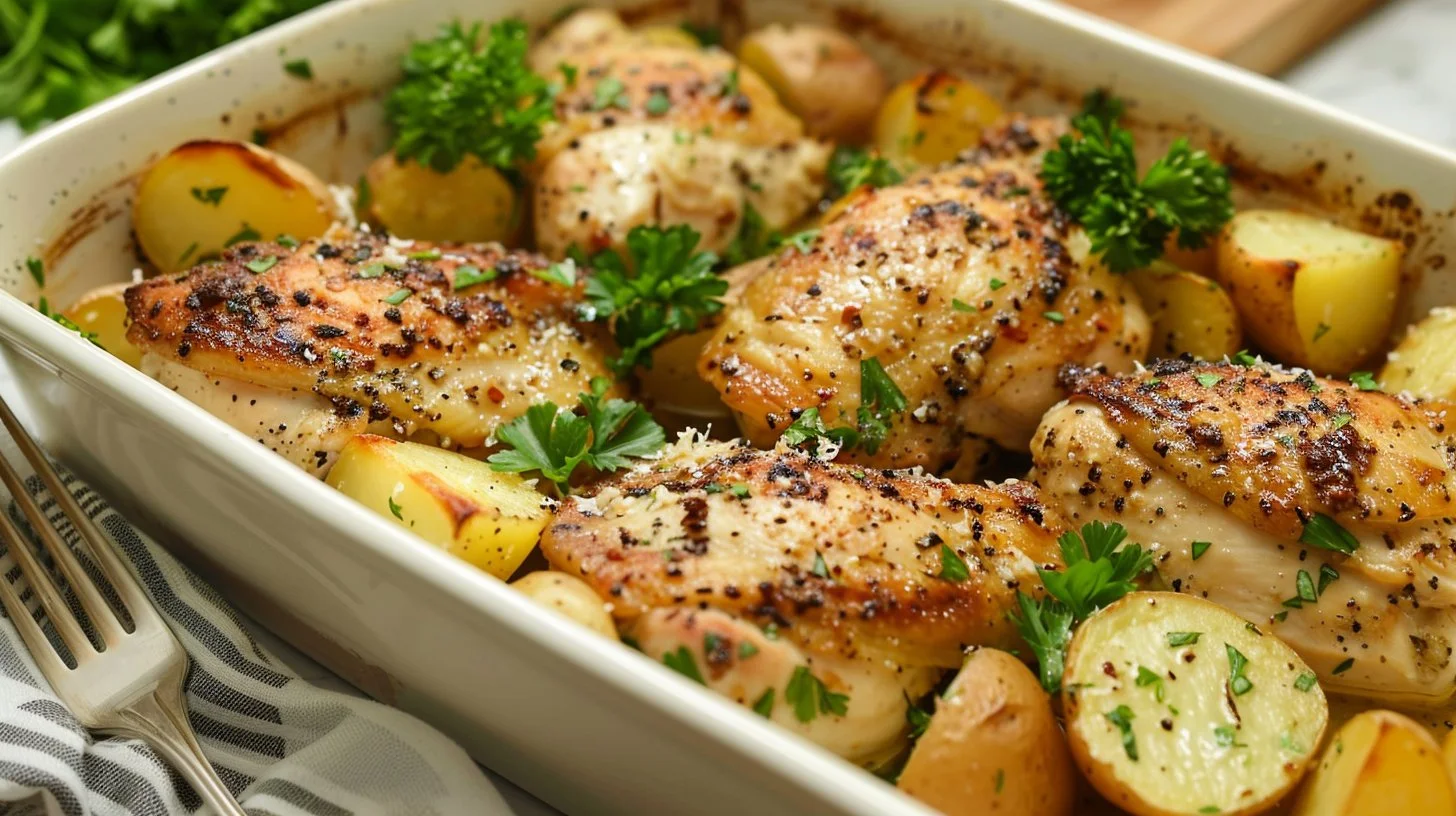
This dish is a savory celebration that will enliven your dining experience with its comforting and bold flavors. Each ingredient plays a pivotal role, ensuring a delightful balance between the rich, buttery essence of the garlic and the earthy satisfaction of potatoes. Imagine the golden, crisped chicken resting atop a bed of tender potatoes, all generously coated with a Parmesan finish that is irresistible. This creation effortlessly marries ease and elegant simplicity, making it ideal for both weeknight dinners and special occasions.
Quick Snapshot: What You’re Getting (In Plain English)
- Cooking time: 40 minutes; Difficulty: Easy; Servings: 4; Best for family dinners or cozy gatherings.
- Key flavor notes: Rich garlic butter, nutty Parmesan, and buttery potatoes combined with a golden-brown chicken.
- Texture promise: Juicy chicken paired with tender yet slightly crisp potatoes.
The “Why It Works” That Actually Helps You Cook
The cooking method used here takes advantage of both stovetop and oven techniques, maximizing texture and flavor. Starting on the stovetop, you achieve a golden sear that locks in moisture, creating that coveted crust. Layering the chicken over the potatoes allows the juices to seep into the base, amplifying the flavor throughout the dish. Pay close attention while sautéing the garlic; burning can turn this aromatic base into a bitter mess. The combination of cooking styles ensures that everything cooks evenly and allows you to focus on other preparations while it bakes.
{image_template}
The Ingredient Lineup (Plus Smart Swaps That Won’t Ruin It)
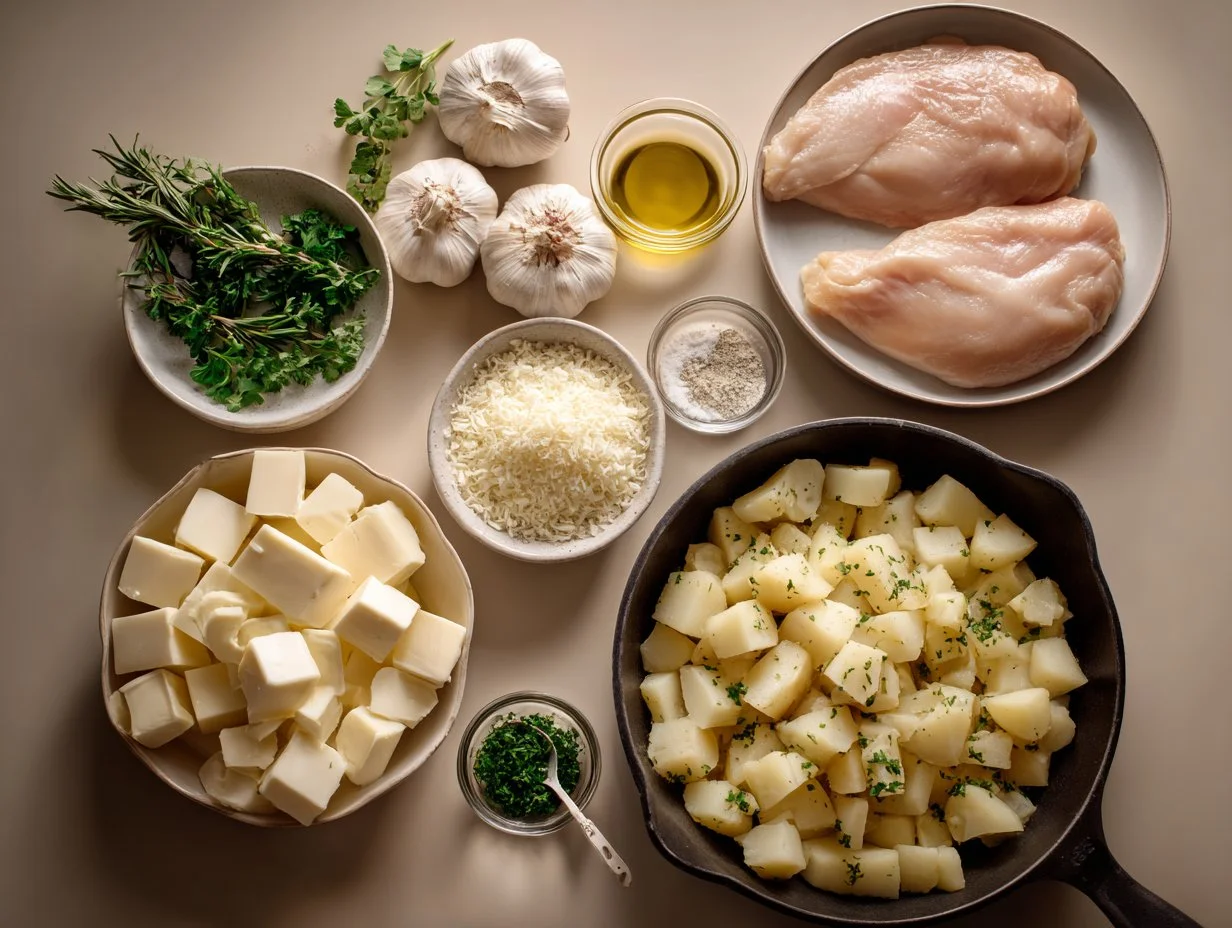
- 4 boneless, skinless chicken breasts (you can substitute with thighs for richer flavor)
- 4 medium potatoes, diced (Yukon Gold or red potatoes work well; sweet potatoes are a fun twist)
- 1/2 cup unsalted butter (can use olive oil for a lighter version)
- 4 cloves garlic, minced (add more for a stronger flavor)
- 1 cup grated Parmesan cheese (use Pecorino Romano for a sharper taste)
- Salt and pepper, to taste (don’t skimp on seasoning to enhance flavors)
- Chopped parsley for garnish (optional, adds freshness)
Do This, Then This: The Foolproof Step-by-Step
- Preheat your oven to 400°F (200°C) while you prepare the ingredients.
- In a medium skillet over medium heat, melt the butter until bubbling, then add the minced garlic and sauté for 1-2 minutes until fragrant but not browned.
- Season the chicken breasts liberally with salt and pepper on both sides.
- Add the chicken to the skillet, cooking for about 5 minutes on each side until they develop a nice golden brown color.
- In a large, greased baking dish, layer the diced potatoes evenly and nestle the browned chicken on top.
- Drizzle the buttery garlic mix generously over the chicken and potatoes, ensuring an even coating across the surface.
- Sprinkle the grated Parmesan cheese over everything, creating a cheesy topping.
- Bake in the preheated oven for 25-30 minutes, checking that the chicken is cooked through and the potatoes are fork-tender.
- Remove from the oven, garnish with chopped parsley, then serve hot.
Flavor + Texture: What You Should Notice in Every Bite
The flavor arc of this meal is extraordinary, starting with the rich, buttery depth from the sautéed garlic that introduces a warm aroma. The robustness of the Parmesan adds a savory layer, enhancing both the chicken and potatoes. As you take a bite, the chicken’s juiciness contrasts against the tender yet slightly crisp potatoes, providing an inviting mouthfeel. The golden cheese crust on top adds a delightful crunch, making every scoop from the baking dish a balanced medley of textures. Don’t hesitate to tweak the seasoning along the way to match your taste preferences—adding a squeeze of lemon can introduce an exciting brightness!
Cook in a Single Pan for Effortless Cleanup
Why dirty multiple dishes? This one-pan wonder allows you to sauté, bake, and serve all in one baking dish. Begin by browning the chicken directly in the skillet, then seamlessly transfer to a single baking dish with potatoes. This method not only simplifies your cooking process but also concentrates flavors, as the chicken juices infuse into the potatoes during baking. Less mess means more time enjoying your delicious creation!
Batch Cook and Reheat with Ease for Busy Days
Want to prepare this meal ahead of time? It’s perfect for meal prepping! Complete steps through the baking phase, allow the dish to cool, then store it in an airtight container for up to three days. When you’re ready to enjoy, simply reheat in the oven at 350°F (175°C) for 15-20 minutes until hot throughout. This not only saves time during the week but also ensures you have a satisfying home-cooked meal ready at your fingertips.
Unlock Extra Crispy Potatoes Without Sacrificing Tenderness
Achieving that perfect textural contrast of crispy outside yet tender on the inside can be simple. Before baking, consider tossing the diced potatoes in a bit of olive oil, salt, and pepper. Spread them in a single layer to ensure even cooking and allow the hot oven to work its magic. If you like extra crispiness, increase the baking time by 5-10 minutes—just keep an eye on the chicken to ensure it doesn’t overcook. This ensures that every bite of potato is gloriously crisp yet tender enough to melt in your mouth.
Avoid Soggy Chicken with Smart Cooking Techniques
Dry chicken can lead to disappointing textures. For a juicier outcome, ensure you’re patting the chicken dry with paper towels to remove any excess moisture before seasoning. This helps achieve that beautiful sear when cooking in the skillet. Moreover, don’t skip the initial sautéing step; this locks in flavors and moisture before the baking process completes. With these steps, you’ll deliver perfectly juicy, golden chicken each time.
How to Serve It (So It Feels Like a Full Win)
- Pair with a fresh green salad for a balanced meal.
- Serve alongside steamed broccoli or green beans to add vibrancy.
- A drizzle of balsamic glaze elevates the dish even further.
- Crusty bread works wonders for soaking up excess garlic butter.
- A light white wine complements the flavors beautifully.
- Consider a sprinkle of red pepper flakes for an extra kick if desired.
Storage, Leftovers, and Make-Ahead (Without Losing Texture)
Leftovers can be stored in an airtight container in the fridge for up to three days without sacrificing flavor or texture. When preparing in advance, you can assemble everything earlier in the day, cover it, and pop it into the oven that evening for a warm, comforting dinner. Freezing is an option too; however, it’s recommended to freeze just the chicken and potatoes separately instead of the entire cooked dish to maintain optimal texture upon reheating. Thaw and reheat in the oven when ready to eat.
Common Mistakes (And the Fast Fix for Each One)
- Not seasoning the chicken enough: Adjust with a liberal sprinkle of salt and pepper before cooking for better flavor.
- Overcrowding the baking dish: Ensure even spacing of chicken and potatoes for proper browning. Use two dishes if necessary.
- Skipping the garlic sauté: Don’t omit this step; it sets the flavor foundation! Sauté slowly to prevent burning.
- Underestimating cooking time: Always check doneness with a meat thermometer for chicken (165°F/75°C) to avoid undercooking.
- Storing leftovers improperly: Ensure they are completely cooled before sealing to avoid condensation leading to sogginess.
Make It Yours: 6 Variations That Still Keep the Recipe Solid
- Swap in herbs like thyme or rosemary for added aromatic appeal.
- Incorporate vegetables like carrots or bell peppers in the layer for nutrients and flavor.
- Use grilled chicken for a smoky twist if you have a grill handy.
- Experiment with different cheeses such as fontina or mozzarella for a chewier textural contrast.
- Consider a spicy sauce drizzle before serving for a kick of heat.
- Make it a casserole by adding a creamy sauce over the top before baking for a richer bite.
Quick Answers Before You Start
Can I make this dish gluten-free?
Yes! This recipe doesn’t contain gluten-containing ingredients. Just check your cheese packaging to ensure it’s gluten-free.
Is this recipe kid-friendly?
Absolutely! The flavors are mild and appealing to children, plus it makes for a visually fun meal.
Can I freeze leftovers?
Yes, leftovers can be frozen, but it’s best to freeze the chicken and potatoes separately to maintain texture.
How can I make this dish dairy-free?
Substituting the butter with olive oil and using a dairy-free cheese alternative can achieve a similar effect without dairy.
Can I use skin-on chicken for extra flavor?
Definitely! Skin-on chicken will add a richer flavor and a crispy texture when baked—but watch the cooking time.
What if my potatoes are still hard after baking?
If the potatoes aren’t tender after baking, pop them back in for an extra 10-15 minutes, covering the dish with foil to avoid burning the top.
Final Notes (So You Nail It the First Time)
Get ready for a delicious and unforgettable mealtime experience! With a few simple steps and thoughtful preparation, you can create an incredible dish that will have everyone coming back for seconds. Don’t wait—get cooking and savor every bite!
Garlic Butter Chicken with Parmesan Potatoes
Ingredients
Method
- Preheat your oven to 400°F (200°C) while you prepare the ingredients.
- In a medium skillet over medium heat, melt the butter until bubbling, then add the minced garlic and sauté for 1-2 minutes until fragrant but not browned.
- Season the chicken breasts liberally with salt and pepper on both sides.
- Add the chicken to the skillet, cooking for about 5 minutes on each side until they develop a nice golden brown color.
- In a large, greased baking dish, layer the diced potatoes evenly and nestle the browned chicken on top.
- Drizzle the buttery garlic mix generously over the chicken and potatoes, ensuring an even coating across the surface.
- Sprinkle the grated Parmesan cheese over everything, creating a cheesy topping.
- Bake in the preheated oven for 25-30 minutes, checking that the chicken is cooked through and the potatoes are fork-tender.
- Remove from the oven, garnish with chopped parsley, then serve hot.
Notes

Leave a Comment