
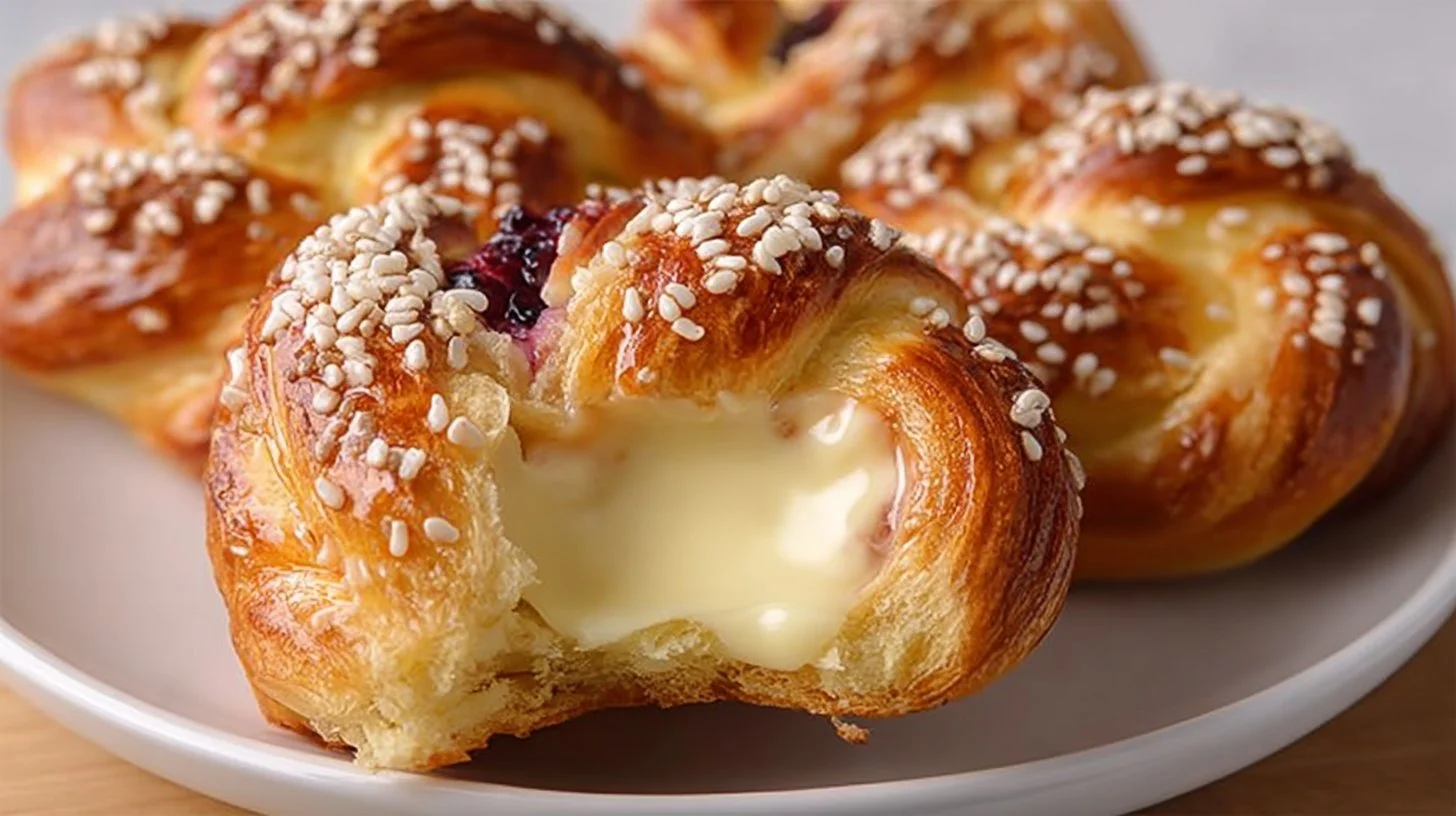
Danish Carnival Buns are a delightful treat that brings together a creamy filling and a soft, fluffy texture, perfect for family gatherings and celebrations. These buns are reminiscent of a cozy carnival atmosphere, filled with the warmth of baking and rich flavors that are sure to please everyone at the table. Imagine pulling apart a freshly baked bun, revealing a luscious cream cheese center while breathing in the sweet, comforting aroma wafting through your kitchen. This recipe not only satisfies your taste buds but also creates memorable moments with loved ones.
Why This Danish Carnival Buns Is a Family Favorite
There’s something undeniably special about Danish Carnival Buns that makes them a hit at any occasion. Their light, airy structure pairs beautifully with the rich cream cheese filling, offering a delightful contrast in texture that’s hard to resist. Not only are they delicious, but they’re also fun to make, allowing family members to get involved in the process. Whether it’s a weekend dessert or a festive celebration, these buns are sure to bring smiles and create lasting memories around the dinner table.
Essential Ingredients for Delicious Danish Carnival Buns
- 2 cups all-purpose flour
- 1/4 cup sugar
- 1/2 teaspoon salt
- 1 packet (2 1/4 teaspoons) active dry yeast
- 1/2 cup milk
- 1/4 cup butter
- 1 large egg
- 1 teaspoon vanilla extract
- 1 cup cream cheese
- 1/4 cup powdered sugar
- 1 teaspoon vanilla extract (for filling)
- 1 egg (for egg wash)
Steps to Create Your Own Danish Carnival Buns
- In a small saucepan, combine the milk and butter. Heat until the butter is melted, then allow it to cool until warm.
- In a large mixing bowl, mix together the flour, sugar, salt, and yeast. In a separate bowl, whisk the warm milk, egg, and vanilla extract.
- Pour the wet mixture into the dry ingredients, stirring until a dough begins to form. Knead the dough for about 5 minutes, until it is smooth and elastic.
- Transfer the dough to a greased bowl, cover it, and let it rise in a warm place for about 1 hour, or until it has doubled in size.
- Meanwhile, prepare the filling by mixing the cream cheese, powdered sugar, and vanilla extract in another bowl until smooth.
- Preheat your oven to 375°F (190°C).
- Once the dough has risen, roll it out on a floured surface and cut it into squares. Place a spoonful of the cream cheese filling in the center of each square.
- Fold the dough over the filling to seal it and shape it into buns.
- Arrange the buns on a baking sheet and brush the tops with the egg wash.
- Bake for 15-20 minutes, or until the buns are beautifully golden brown.
- Allow the buns to cool slightly before serving, and enjoy your festive Danish Carnival Buns!
Serving Suggestions for Danish Carnival Buns
These buns are versatile and can be served in various ways. They shine best fresh out of the oven when their centers are still creamy and warm. You might consider serving them with fresh fruit, a simple dusting of powdered sugar, or even a drizzle of icing for a bit of extra sweetness. For an even more festive presentation, pair them with a cup of coffee or tea, making them the perfect accompaniment during family brunches or holiday gatherings.
Storing Your Danish Carnival Buns
If you happen to have leftovers, storing your Danish Carnival Buns is quite simple. Just place them in an airtight container at room temperature for up to two days for maximum freshness. If you want to keep them for a longer period, wrapping them tightly in plastic wrap and placing them in the freezer can preserve their flavors and textures for up to three months. Just remember to thaw and reheat them in the oven before serving for the best results!
Helpful Tips for Perfect Danish Carnival Buns Every Time
To achieve perfectly fluffy buns, it’s essential to ensure your yeast is fresh. If it doesn’t foam when combined with warm milk, it might be time to get a new package. Additionally, don’t skip the kneading step—this is vital for developing the gluten that gives the buns their structure. If you want an even sweeter treat, consider adding chocolate chips or fruit to the filling for a delightful twist that your family will love.
Creative Variations and Add-In Ideas
Feel free to experiment with the filling for your Danish Carnival Buns. You can add different flavors of extracts such as almond or citrus zest to elevate the taste. If you’re feeling adventurous, swap the cream cheese with flavored yogurts or mascarpone for a unique take. You could also incorporate fresh berries or nuts for extra flavor and texture, customizing your buns to suit any occasion.
Frequently Asked Questions About Danish Carnival Buns
Can I prepare these buns ahead of time?
Absolutely! You can make the dough a day in advance. Simply let it rise, then shape the buns and refrigerate them overnight. It’s a great option for saving time on busy mornings!
Can I freeze Danish Carnival Buns?
Yes, you can freeze the baked buns! Allow them to completely cool, then wrap them tightly in plastic wrap. When you’re ready to enjoy them, thaw at room temperature and reheat in the oven.
Are Danish Carnival Buns easy for kids to help with?
Definitely! Kids love helping to fill and shape the buns. Just be sure to supervise during baking, as things can get hot!
Can I make these buns gluten-free or dairy-free?
For gluten-free options, you can substitute the all-purpose flour with a 1:1 gluten-free flour blend. For a dairy-free version, consider using plant-based milk and dairy substitutes for the butter and cream cheese.
What can I serve with Danish Carnival Buns?
These buns pair beautifully with light soups, fresh salads, or a simple fruit salad. They also go great with hot beverages like tea, coffee, or hot chocolate for a comforting afternoon snack!
Wrap Up Your Baking Experience
With this delightful recipe for Danish Carnival Buns, you can create a treat that brings joy to any gathering. The creamy filling and soft dough will surely delight your family and friends, making every bite a delicious experience. Don’t forget to share your baking adventures and let us know how these buns turned out for you! Explore more fun recipes in our collection, like comforting soups or easy side dishes, and keep the joy of cooking alive in your home.

Leave a Comment