

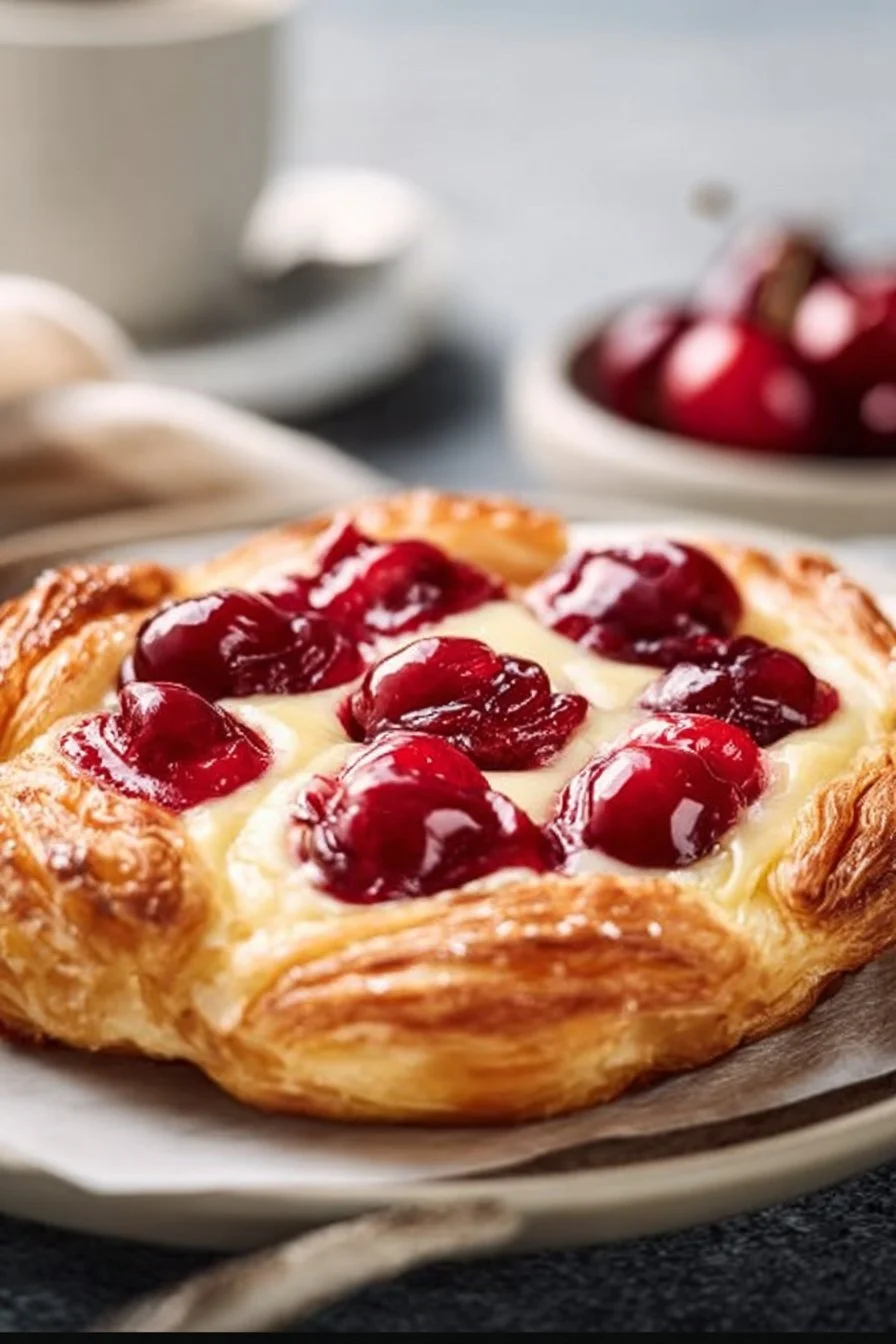
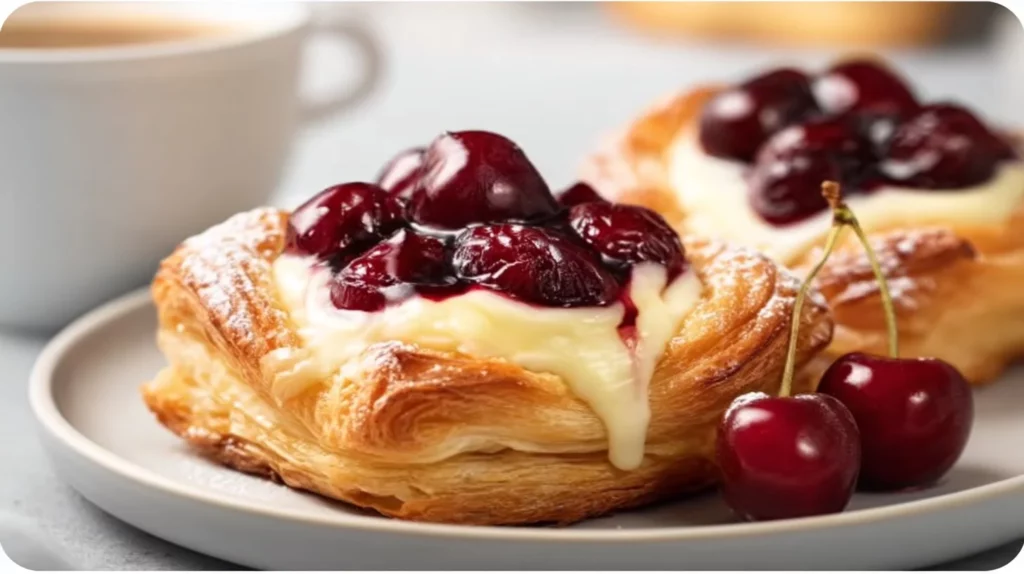
Cherry Cheese Danish is a delightful pastry that perfectly balances the creamy richness of sweetened cream cheese and the tartness of cherry filling, all enveloped in a flaky puff pastry. This dessert is a fantastic treat for brunch gatherings, family breakfasts, or even as an afternoon snack. It brings a sense of comfort, nostalgia, and indulgence, making every bite feel like a warm hug.
Imagine the aroma wafting through your kitchen as they bake to golden perfection! You and your family will fall in love with the contrasting textures—crispy, flaky pastry on the outside, and a creamy, luscious filling on the inside. Every time you serve these Cherry Cheese Danishes, you’ll be met with smiles and satisfied sighs. They truly are a spectacular choice for any occasion, and the best part is, they’re simple to make!
Why You’ll Love This Recipe
- Simplicity: With just a handful of ingredients, these pastries are easy to whip up, even for novice bakers.
- Delicious Flavor: The combination of sweet cream cheese and tangy cherry filling creates a perfect flavor duo.
- Perfect Texture: The puff pastry provides a light, flaky exterior that contrasts beautifully with the creamy filling.
- Quick Prep Time: Ready in less than 30 minutes, these pastries are perfect for a last-minute treat.
- Versatile: Great for breakfast, brunch, dessert, or a snack, making them suitable for any time of the day.
- Make Ahead: You can prepare them in advance and bake them just before serving for a fresh treat.
What Makes This Recipe Special
The Cherry Cheese Danish stands out due to the layers of flavor and texture that come together in one bite. The luscious cream cheese filling, sweetened with powdered sugar and enhanced with a hint of vanilla extract, provides a creamy base that complements the cherry filling’s fruity goodness. The puff pastry adds that quintessential flaky element that elevates the entire experience. You can also customize this recipe with different fillings, but the cherry is a classic choice that never disappoints.
Ready to dive in? Let’s gather what you need to create these irresistible pastries!
Ingredients
- 1 package of puff pastry sheets
- 8 oz cream cheese, softened
- 1/2 cup powdered sugar
- 1 tsp vanilla extract
- 1 cup cherry pie filling
- 1 egg, beaten (for egg wash)
- Optional: additional powdered sugar for dusting
These ingredients work together harmoniously, ensuring that every bite offers a delightful balance of flavors. The powdered sugar sweetens the cream cheese, creating a luscious filling that pairs exceptionally well with the tart cherry pie filling.
Ingredient Notes and Easy Substitutions
- Puff Pastry Sheets: Fresh or frozen puff pastry can be used. Be sure to thaw frozen sheets in advance for the best results.
- Cream Cheese: Full-fat cream cheese lends a rich creaminess, but you can opt for reduced-fat versions if desired.
- Powdered Sugar: This ingredient helps sweeten the cream cheese without altering its smooth texture.
- Cherry Pie Filling: Feel free to use homemade cherry filling or swap for other fruits like blueberry or raspberry if you prefer!
- Egg Wash: This step gives the pastries a beautiful golden color, but you could use milk or cream if you want to keep it egg-free.
Instructions
- Preheat your oven to 400°F (200°C).
- Roll out the puff pastry sheets on a lightly floured surface. Cut them into 4-inch squares for a neat, uniform size.
- In a bowl, mix the softened cream cheese, powdered sugar, and vanilla extract until smooth and creamy.
- Place a spoonful of the cream cheese mixture in the center of each pastry square.
- Add a spoonful of cherry pie filling on top of the cream cheese, ensuring not to overfill them.
- Gently fold the corners of the pastry squares over the filling, pinching to seal them securely.
- Brush the tops with the beaten egg for that beautiful golden finish.
- Bake in the preheated oven for 15-20 minutes, or until golden brown and flaky.
- Remove from the oven, let cool slightly, and dust with powdered sugar if desired.
- Serve warm and enjoy the melt-in-your-mouth goodness!
Expert Tips for the Best Results
- Thaw Properly: If using frozen puff pastry, ensure it’s fully thawed to avoid tearing while rolling.
- Don’t Overfill: Too much filling can make the pastries spill over during baking. A spoonful of each filling is just right.
- Egg Wash Alternatives: If you’re avoiding eggs, a light brush of milk or cream can also give a nice finish.
- Watch the Time: Ovens may vary, so keep an eye on the pastries towards the end of the baking time for the perfect shade of golden brown.
Variations
- Mixed Berry Danish: Substitute cherry filling with a blend of raspberries, blueberries, and strawberries for a mixed berry twist.
- Chocolate Cherry Danish: Drizzle some melted chocolate over the cherry filling for an indulgent chocolate-cherry treat.
- Lemon Cream Cheese Filling: Mix lemon zest and lemon juice into the cream cheese for a zesty upgrade.
- Maple Pecan Filling: Incorporate crushed pecans and maple syrup into the cream cheese mixture for a fall-inspired variant.
- Nutella Cherry Danish: Add a layer of Nutella below the cherry filling for a deliciously decadent treat.
Serving Suggestions
These Cherry Cheese Danishes are delightful on their own but can be paired with many fun accompaniments. Consider serving them with a side of fresh fruit, such as sliced strawberries or a fruit salad, to add a light and refreshing touch. For beverages, coffee, tea, or a cold glass of lemonade will complement these pastries beautifully.
Storage and Reheating
Store any leftovers in an airtight container in the refrigerator for up to 2 days. Reheat them gently in the oven at 350°F (175°C) for about 5-10 minutes to restore their flaky texture. These pastries are best enjoyed fresh, but they can be prepared in advance and baked just before serving.
Common Mistakes to Avoid
- Rolling Too Thin: Ensure your puff pastry is rolled out adequately; if it’s too thin, it might become soggy instead of flaky.
- Sealing Properly: Don’t skimp on sealing the edges; properly sealed danishes will hold their filling better during baking.
- Skipping the Egg Wash: The egg wash not only enhances color but also adds a beautiful sheen to your pastries.
FAQ
How can I use fresh cherries instead of cherry pie filling?
Fresh cherries can be used, but you will need to cook them down with some sugar and a bit of cornstarch to create a syrupy consistency that mimics pie filling.
Can I freeze Cherry Cheese Danishes before baking?
Yes! Assemble the danishes and freeze them on a baking sheet until firm, then transfer to a freezer bag. Bake from frozen, adding a few extra minutes to the baking time.
What’s the best way to reheat these pastries?
For the best texture, reheat in the oven at 350°F (175°C) for about 5-10 minutes. Alternatively, you can microwave them, but they won’t be as crispy.
Can I make these Cherry Cheese Danishes ahead of time?
Absolutely! You can prepare the filling and pastry dough the day before, then assemble and bake when you’re ready to serve.
Can I use phyllo dough instead of puff pastry?
You can, but keep in mind that phyllo dough will result in a different texture. Puff pastry provides a layered effect that phyllo may not replicate.
Conclusion
In conclusion, making your own Cherry Cheese Danish is an incredibly rewarding experience that allows you to indulge in a delicious treat without the fuss of a bakery. The balance of creamy and fruity flavors, combined with the flaky pastry, is sure to create joyful moments at your table. Whether it’s for a special occasion or a casual afternoon snack, these danishes are bound to impress.
So why not get started today? Gather your ingredients, follow these simple steps, and enjoy the warm, buttery goodness that is sure to become a favorite in your home. Don’t forget to share the love by letting friends and family in on this delightful recipe—it’s a keeper!
Cherry Cheese Danish
Ingredients
Method
- Preheat your oven to 400°F (200°C).
- Roll out the puff pastry sheets on a lightly floured surface. Cut them into 4-inch squares for uniformity.
- In a bowl, mix the softened cream cheese, powdered sugar, and vanilla extract until smooth and creamy.
- Place a spoonful of the cream cheese mixture in the center of each pastry square.
- Add a spoonful of cherry pie filling on top of the cream cheese, ensuring not to overfill.
- Gently fold the corners of the pastry squares over the filling and pinch to seal securely.
- Brush the tops with the beaten egg for a golden finish.
- Bake in the preheated oven for 15-20 minutes, or until golden brown and flaky.
- Remove from the oven and let cool slightly. Dust with powdered sugar if desired.
- Serve warm and enjoy!
Notes

Leave a Comment